


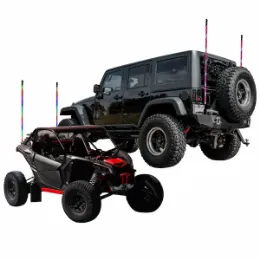


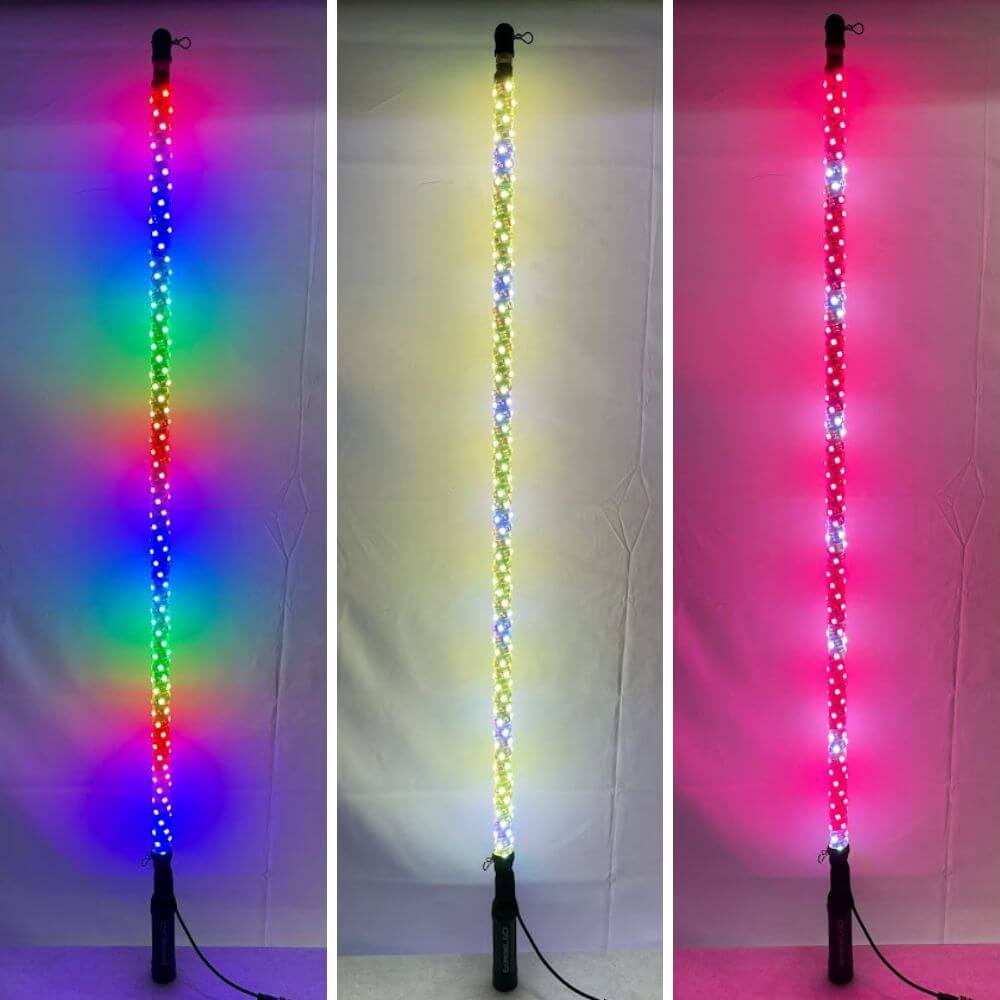
RGB whip lights are a great addition to many off-road vehicles, providing enhanced visibility in low light and hazardous conditions. Installing RGB whip lights on your vehicle is a relatively simple process that can be done with the right tools and equipment. In this blog post, we will provide a step-by-step guide on how to install whip lights for your vehicle. Let’s get started!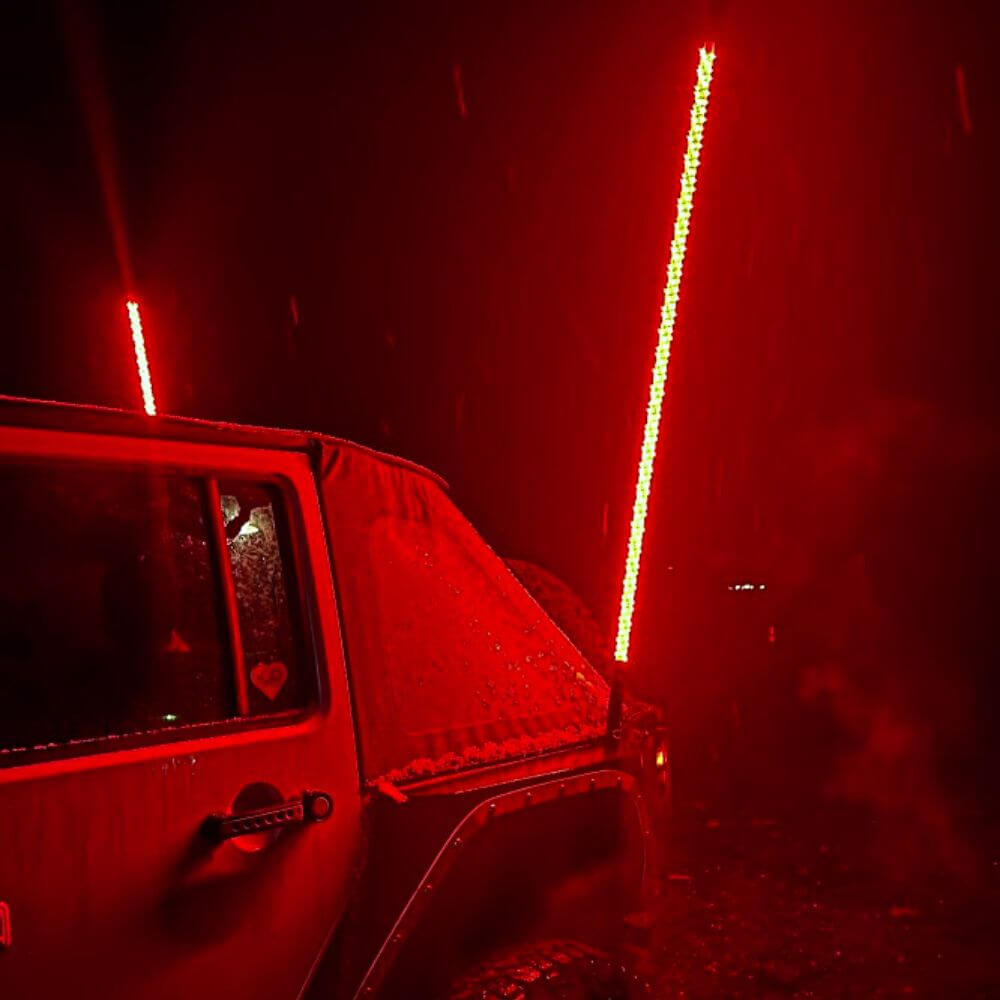
How to Install RGB Whip Lights On Your Vehicle
Before we begin with the step-by-step process, let’s discuss the tools and equipment required. It is important to test each light setting first if they work before proceeding with the installation. Also, it is important to look for other damaged or missing items.
The Required Equipment and Tools
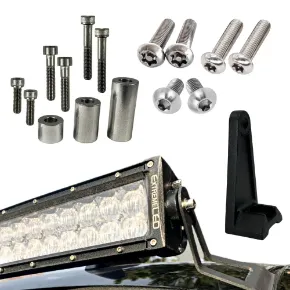
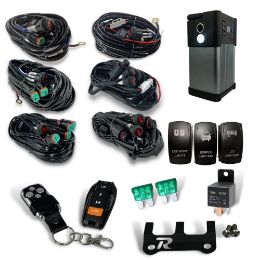
Before you start the installation process, you will need the following equipment and tools:
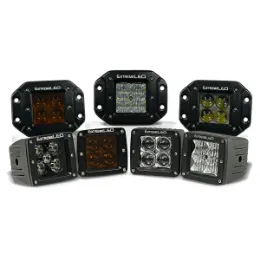
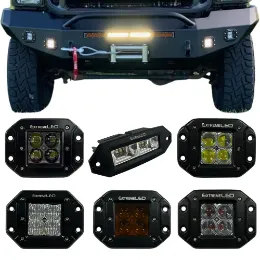
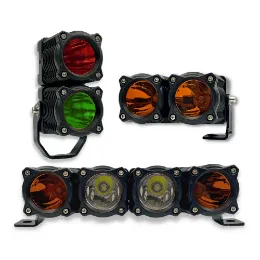
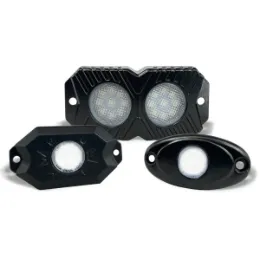
- Two or one LED whip lights
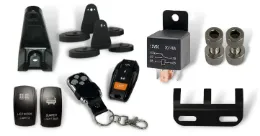
- Mounting brackets
- Wiring harness
- Flathead screwdriver
- Drill and drill bits
- Zip ties
- Marker
- Wrench
- Wire cutters
- Shrink wrap with solder
- Lighter
The Step-by-Step Installation Process
To install LED whip lights, you will need to follow these steps:
Step 1: Do pre-checks of your LED whip light package
Before proceeding with the installation, it is important to inspect the package upon receive to see if any damage occurred during shipping. You may refer to this step-by-step guide to check your LED lights upon receiving them. It is important to inspect the whip lights box for any damage such as cut wires, scratches on the base, or other broken pieces that could come from the harness or other items in the box. Once you have confirmed that the items are in good condition, next is to test your whip lights and harness to make sure they are working properly. To do this, connect whip lights and harness and test each wire individually for brake lights, turn signals, and hazards. This can be done by touching the black wire to the negative post on the battery and the red wire to the positive battery post. Then touch each wire to the positive post, and the led whip lights should light up to their corresponding function. 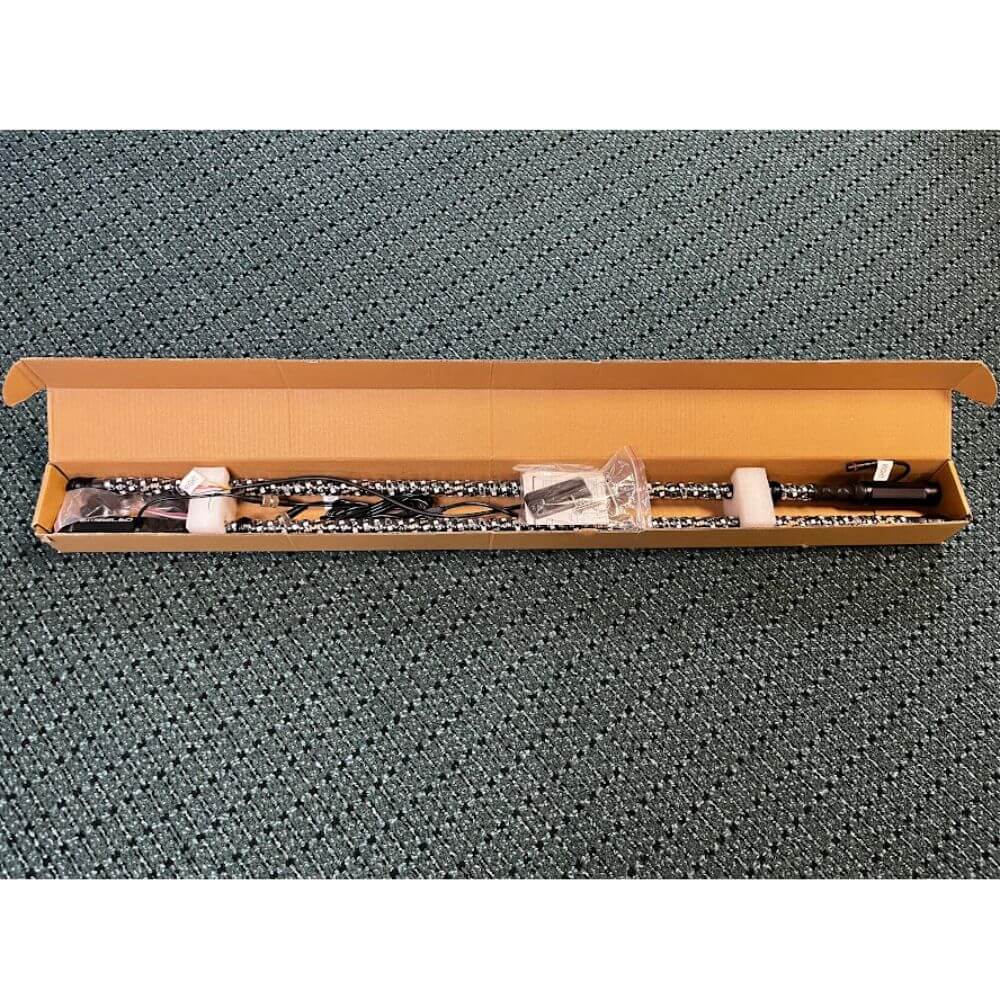
Step 2: Choose The Location For Your LED Whip Lights
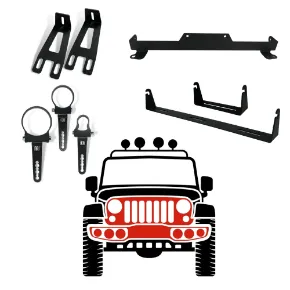
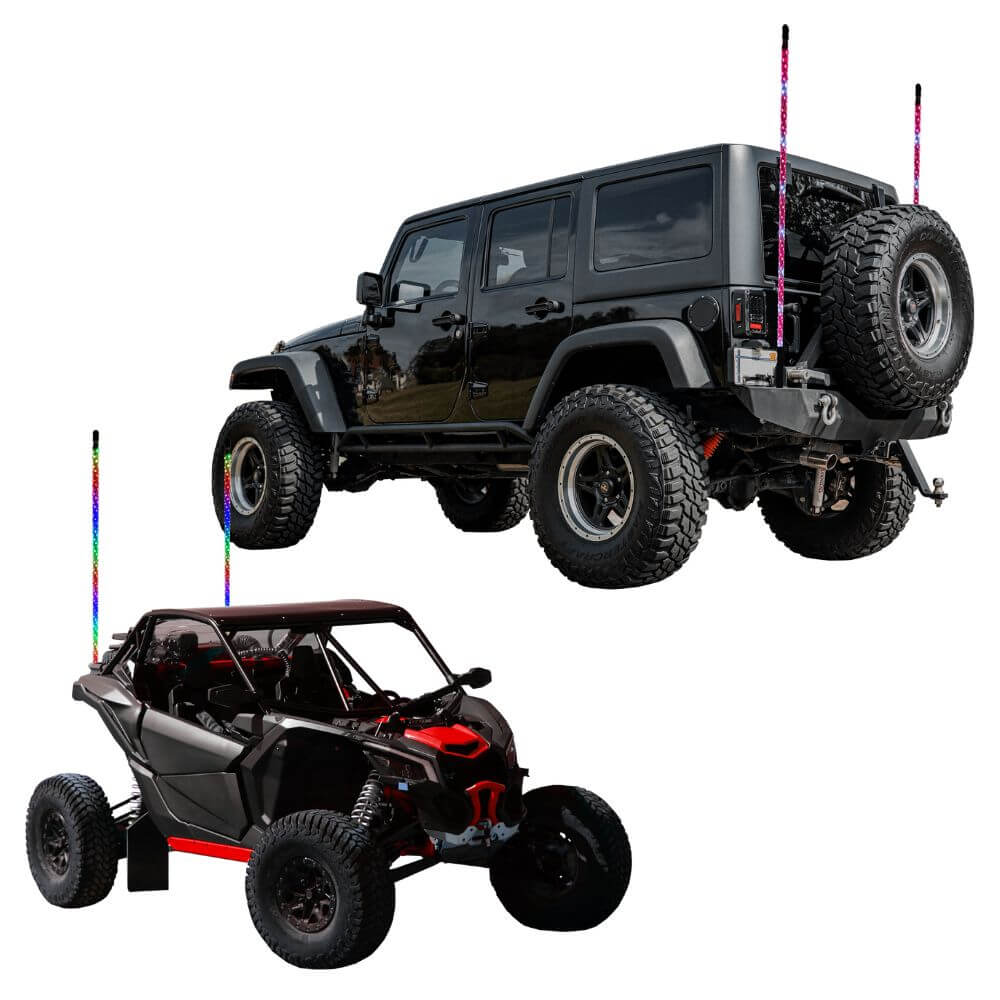
Choosing a location for your led whip lights is very important and should be done correctly. There are a few important considerations to keep in mind when choosing the location for your whip lights. First, ensure the lights are mounted securely to a strong and sturdy spot on your vehicle. These are mounted by the bottom and when driving it might add quite a bit of torque from the whip lights bending from the wind. So plastic or other weak materials may not provide a secure attachment. Another key point to determining the mounting location is the desired length you want. If the best spot is low on the bumper you might want a longer set to be seen better or if it's higher up maybe on the fender or roof you would want a smaller set. The last key factor in picking the location where the whip lights will go is if you can get to the other side you will be drilling through. The mounts use a nut and bolt to mount to the car and you will need access to the other side to tighten down the bracket.
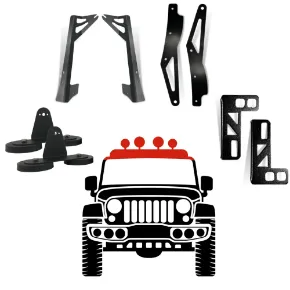
Step 3: Install The Mounting Brackets
Installing the mounting brackets for the RGB led whip lights is a simple and universal setup. First, as we said above you will benefit from mounting to a metal base or area that you can have access to the other side. Once you have picked the area, measure out where you are putting it so each whip light is even with the other. Drill out each spot with a drill step bit. A unique and helpful function of our whip lights is that they have a quick disconnect with the mount and connectors so when installing you just have to mount the base of the whip light first by sliding the bolt part into the drilled-out hole and securing it down with the lock washer and nut. Once that is secure you can add the whip lights to the base by using the quick disconnect and adding the safety pin in. 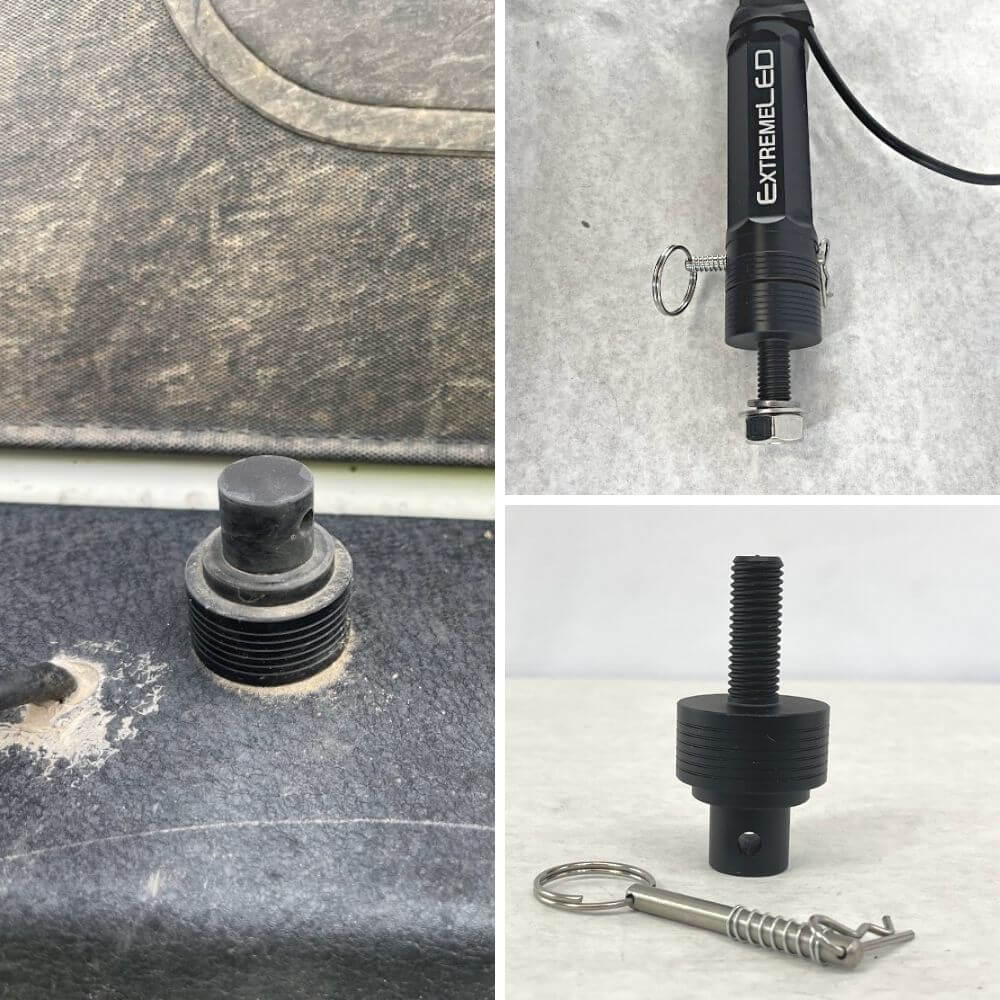
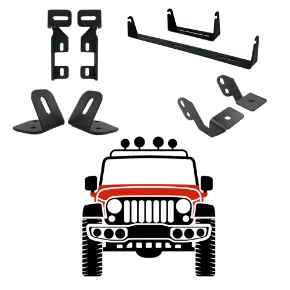
Step 4: Running the wiring for the harness
After installing the whip lights base, find the closest point of entry into the vehicle for Jeeps or ATVs this will be a bit easier with there being more access to the tail lights or inside the cab. The harness has an RGB relay box that can be mounted to any place we recommend doing this after attaching all the wires. It also has two connectors that will need to be run to each whip light. It does matter on what side these get run to, one is for the left and one is for the right side. Once these have been brought to each whip light, pull back the wire and zip tie to give you the most wire to work with when installing the wires for the vehicle's functions and power. You then will need to find the best path to run the power wires to the tail lights that can be on the outside or inside of the car.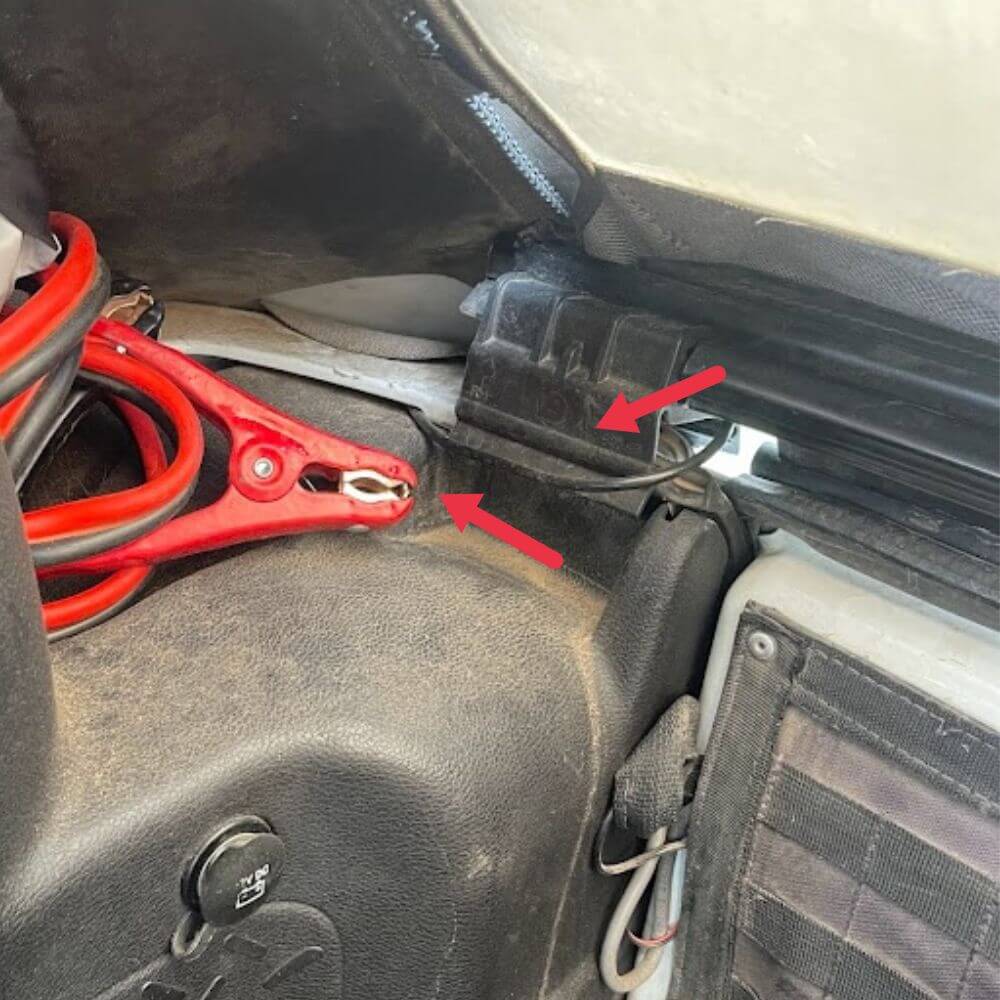
Step 5: Installing wires for brakes, turn signals, and reverse lights
These can be installed in any order but we recommend this order because it allows you to use the length where it needs to be used, (Green, Yellow, White, Orange, Black, Red). We also recommend using heat shrink with solder or a crimp on the inside, this will make the installation go a lot smoother. The first step is, You will need to find what wires control what function inside your rear tail light. To do this you can see what color runs to what light. If you are not sure what each light does you can test this by simply turning on your car and having someone turn on your turn signals, breaks, or reverse lights. Once that's found, turn the car off because you will be cutting and splicing wires together. You will need to connect each wire to its designated spot. To slice a wire together you will need to make sure to give yourself as much wire to work with on both sides. So do not cut close to a connector or the end of a wire. Choose the spot that seems to be in the middle. Once the wire is cut, use either a razor or wire cutters to expose the bare wire on each side only cut off about 1-2 cm. You then will want to twist one side together with the whip light wire. Then slide the twisted wires into one side of the heat shrink and the other bear wire into the other side. Then use a lighter to shrink the heat shrink and secure the wires together. You will use this same technique for all the colors. The colors you want to install first are, green which will go to the left turn signal, and yellow will go to the right turn signal. Then, determine the closest spot to attach the white wire to the reverse lights, and then the orange wire will go to your brakes. It does not matter what side of the car these two wires are installed on. So choose the closest spot to splice each of these wires in.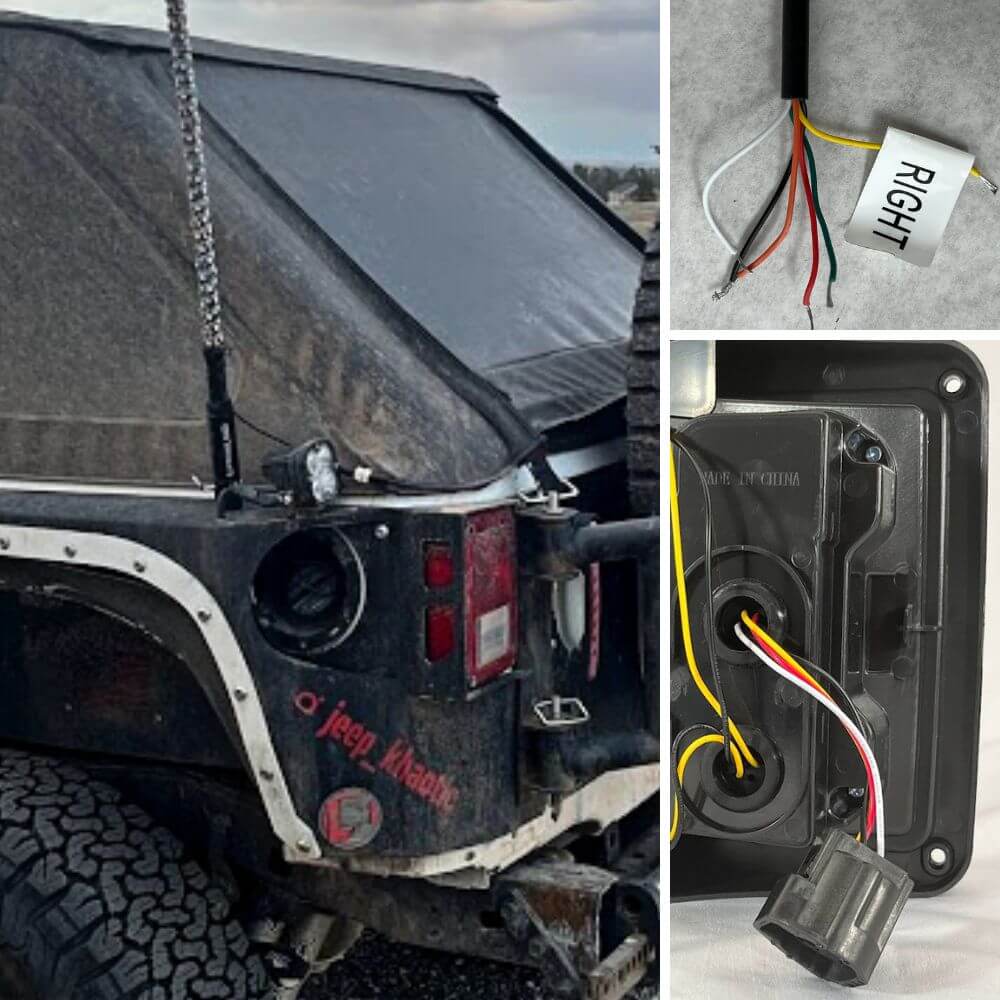
Step 6: Installing the wires for power and negative
To connect the positive Red wire to the ACC power, you will need to find the closest ACC power source. The spot this will be in will depend on the car it's being installed onto. To easily splice these together we recommend using the same heat shrink with solder or a crimp on the inside. To help keep these wires properly secured. For the negative, some cars have a negative post throughout the car. They will be a bolt that has a negative line bolted to the frame of the car. You can connect the negative black wire to one of these this will allow you to not have to solder or use heat shrink just wrap the wire around the bolt and tighten it down.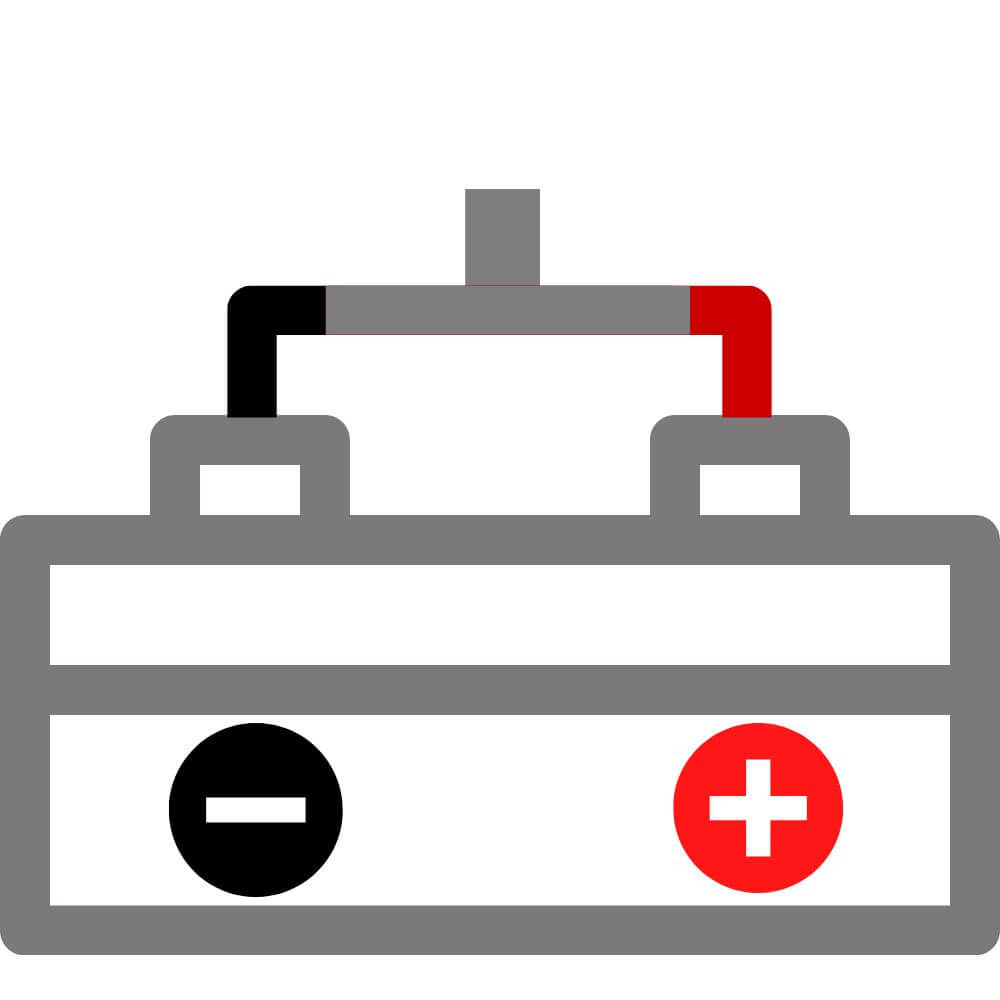
Step 7: Testing the whip lights
Lastly, test all functions of the light before replacing any parts back to your vehicle in case the wiring solder is not good. To do this, test all functions so turn on your car and try both turn signals, reverse lights, and then the brakes. Lastly, test the wireless remote as well. Then once it is working properly you can reassemble your vehicle if necessary and your LED whip lights are installed correctly.
Tips for Proper Installation
Here are some tips to ensure that the installation of your whip lights is proper and effective:
- Choose the right location and size for your whip lights based on your needs and the layout of your vehicle.
- Make sure to install the mounting brackets securely to prevent the whip lights from coming loose or breaking off.
- Check the wiring and connections regularly to ensure that everything is working properly and there are no loose or damaged wires.
Why Choose Extreme LED Lights?
Extreme LED lights are the best in class when it comes to value for money and quality of LED lights. Here are some of the reasons why:
- Quality and Durability: Our LED whip lights are built to last. They are made of high-quality materials and designed to withstand harsh weather conditions and rough terrain.
- Range of Products Available: Extreme LED Light Bars offers a wide range of LED light bars to suit different applications and budgets. We have an extensive collection of LED lights, including straight and curved light bars, mini light bars, strobe lights, and more.
- Positive Customer Reviews and Testimonials: We have received numerous positive reviews and testimonials from satisfied customers who have used our products for their vehicles.
- Installation and Customer Support: Our LED Lights are very easy to install. We provide comprehensive installation instructions, and our customer support team is always available to assist you with any queries you may have.
The Bottom Line
Installing LED whip lights on your vehicle is a great way to enhance the visibility of your vehicle and safety in low light and hazardous conditions. With the right tools and equipment, it is a relatively simple process that can be done in a few steps. Extreme LED Light Bars is a top choice for quality and value when it comes to amber light bars, offering a range of products to suit different applications and budgets. By choosing Extreme LEDwhip lights, you can rest assured that you are getting a high-quality product that will provide long-lasting, high-performance lighting for your vehicle. If you need more information about our LED whip lights or have any questions about installation, feel free to reach out to us anytime.
![]()
Meet the Author: Extreme LED has been helping off-road enthusiasts with their LED lighting needs since 2011. We have built our company to provide you with the best experience from shopping to customer support and ultimately use and longevity of our products. Our high-performance LED Light Bars & Pods are covered by our Lifetime Warranty and with free shipping on orders over $100, you can rest assured that you are getting a high-quality product that will provide long-lasting lighting for your vehicle.
![]()
Meet the Author: Extreme LED has been helping offroad enthusiasts with their LED lighting needs since 2011. We have built our company to provide you with the best experience from shopping to customer support and ultimately use and longevity of our products. Our high-performance LED Light Bars & Pods are covered by our Lifetime Warranty and with free shipping over $100, you can rest assured that you are getting a high-quality product that will provide long-lasting lighting for your vehicle.