


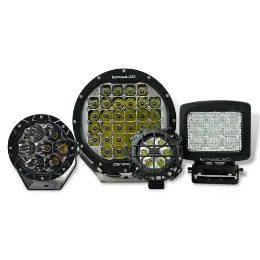


Unboxing your new LED light bar is an exhilarating experience. You might already be planning your next off-road adventure or camping trip. As you carefully unwrap the packaging, anticipation builds, knowing that you're about to unveil a powerful and versatile lighting solution. But the excitement doesn't stop there. Once the LED light bar is in your hands, it's time to put it to the test to ensure its functionality. In this article, we will explore the step-by-step process of unboxing your new LED light bar and guide you through the essential testing procedures.
How to properly inspect your LED Light Bars upon receiving
Follow this step-by-step guide or visit Extreme Youtube Channel to watch the video.
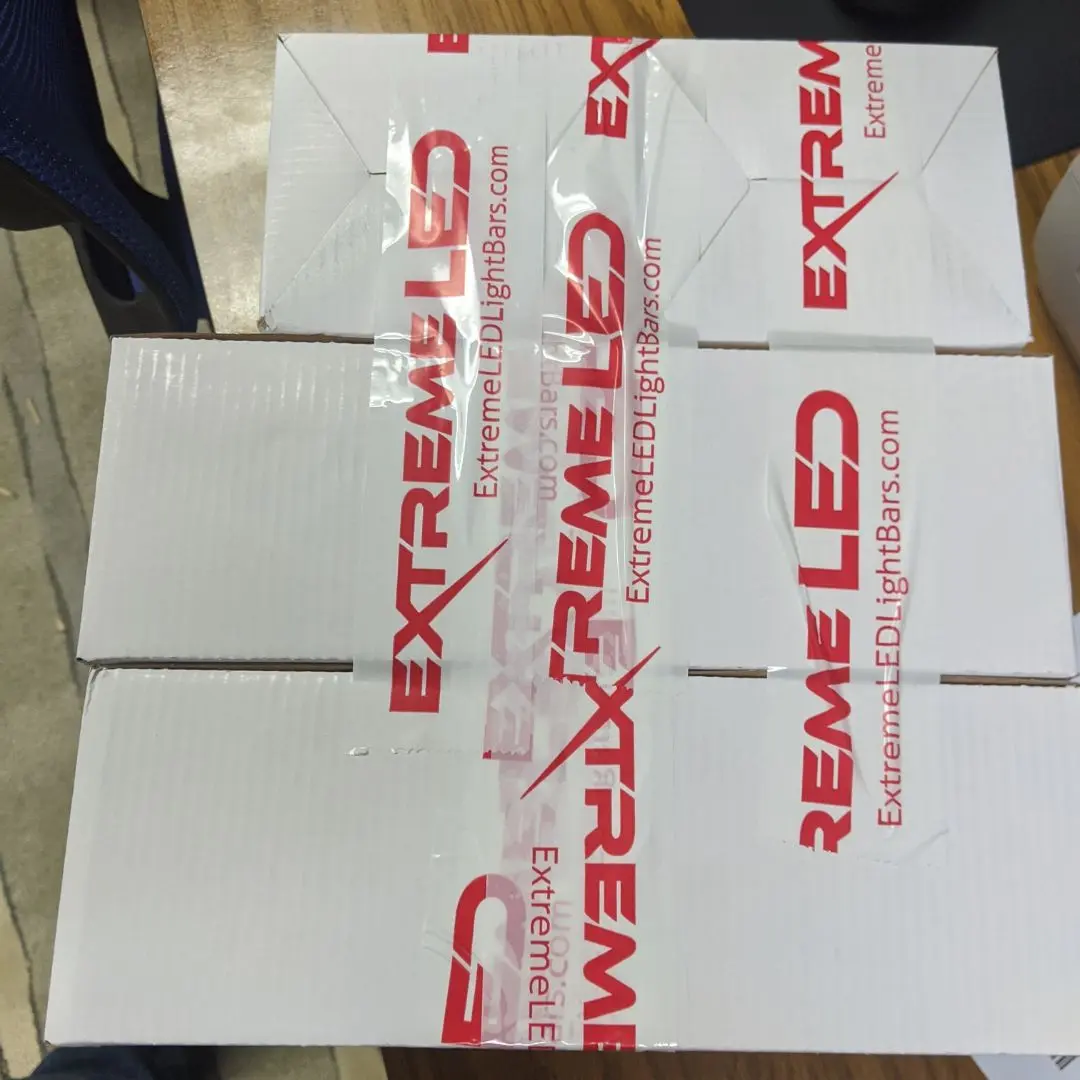
Step 1: Check for possible damage caused during the shipment
When you order an LED light bar from Extreme LED you can expect that the package is being handled with care. However, the box or item being damaged during shipping sometimes can’t be avoided. Inspecting your package to ensure that the light bars are not damaged and the package is complete. Some key things to look for are holes, cut tape, and new tape added to the box. If you have found the box is heavily damaged, please contact our customer service for assistance.
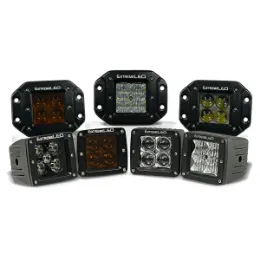
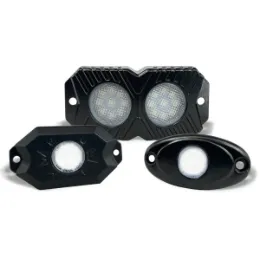
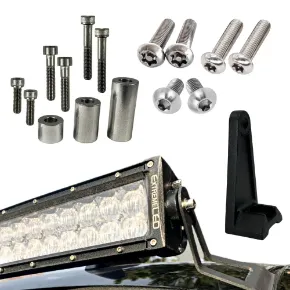
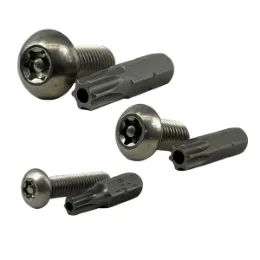
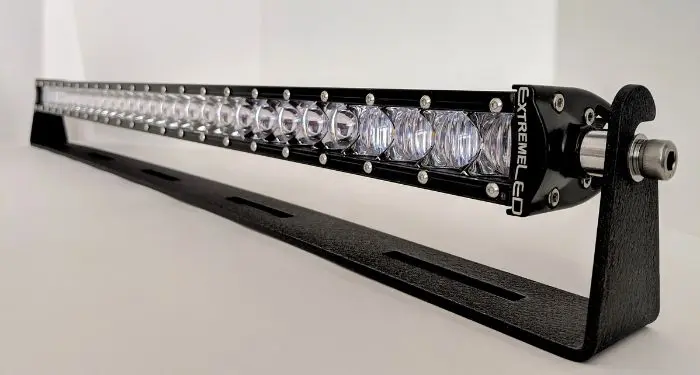
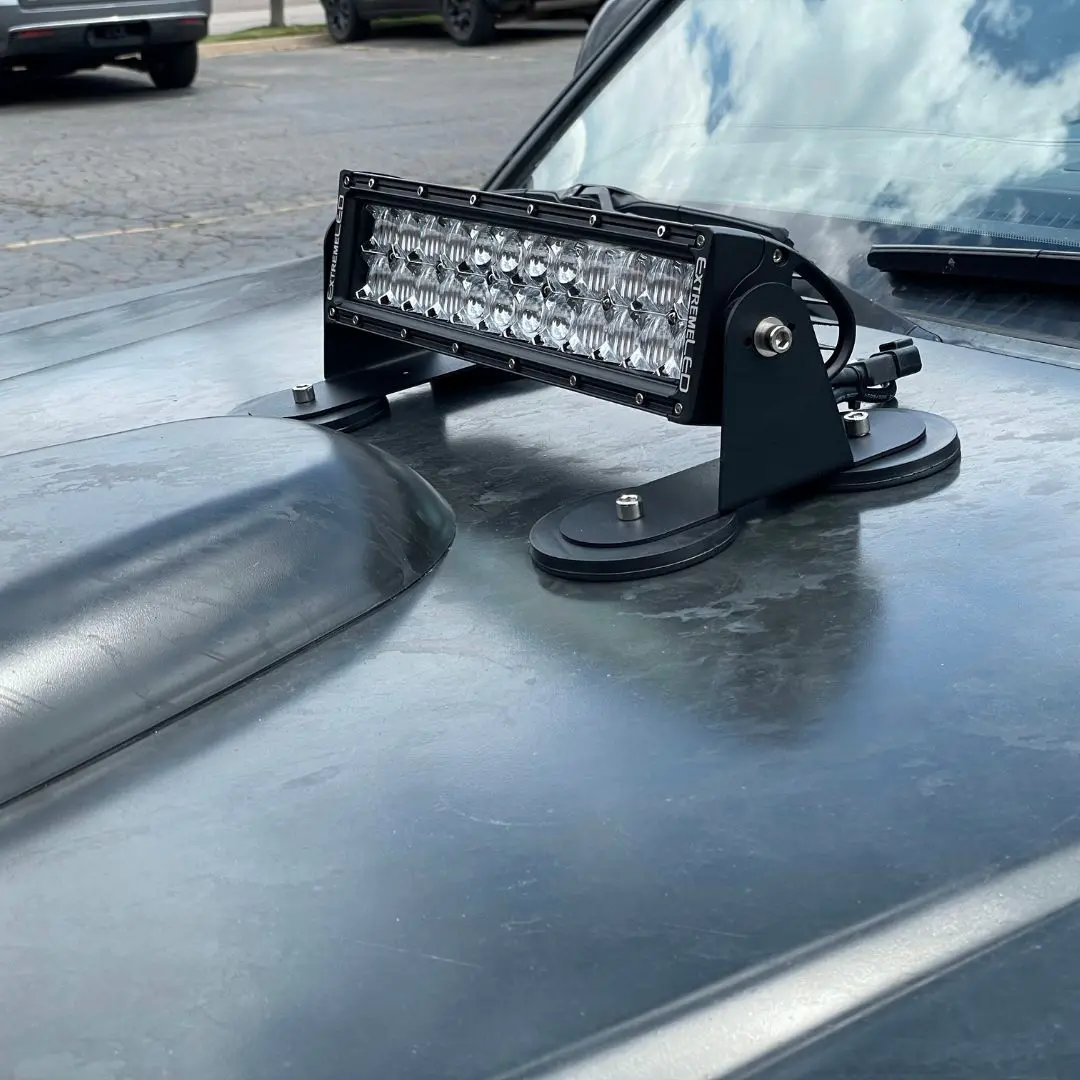
Step 2: Check your LED light for damage
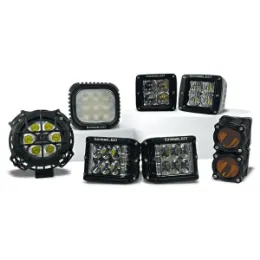
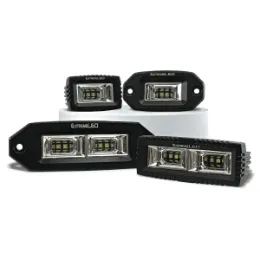
Carefully examine the LED light bar for any visible damages, such as cracks, loose connections, or broken parts. Ensure that all components, including the housing, mounting brackets, and wiring, are intact and securely in place.
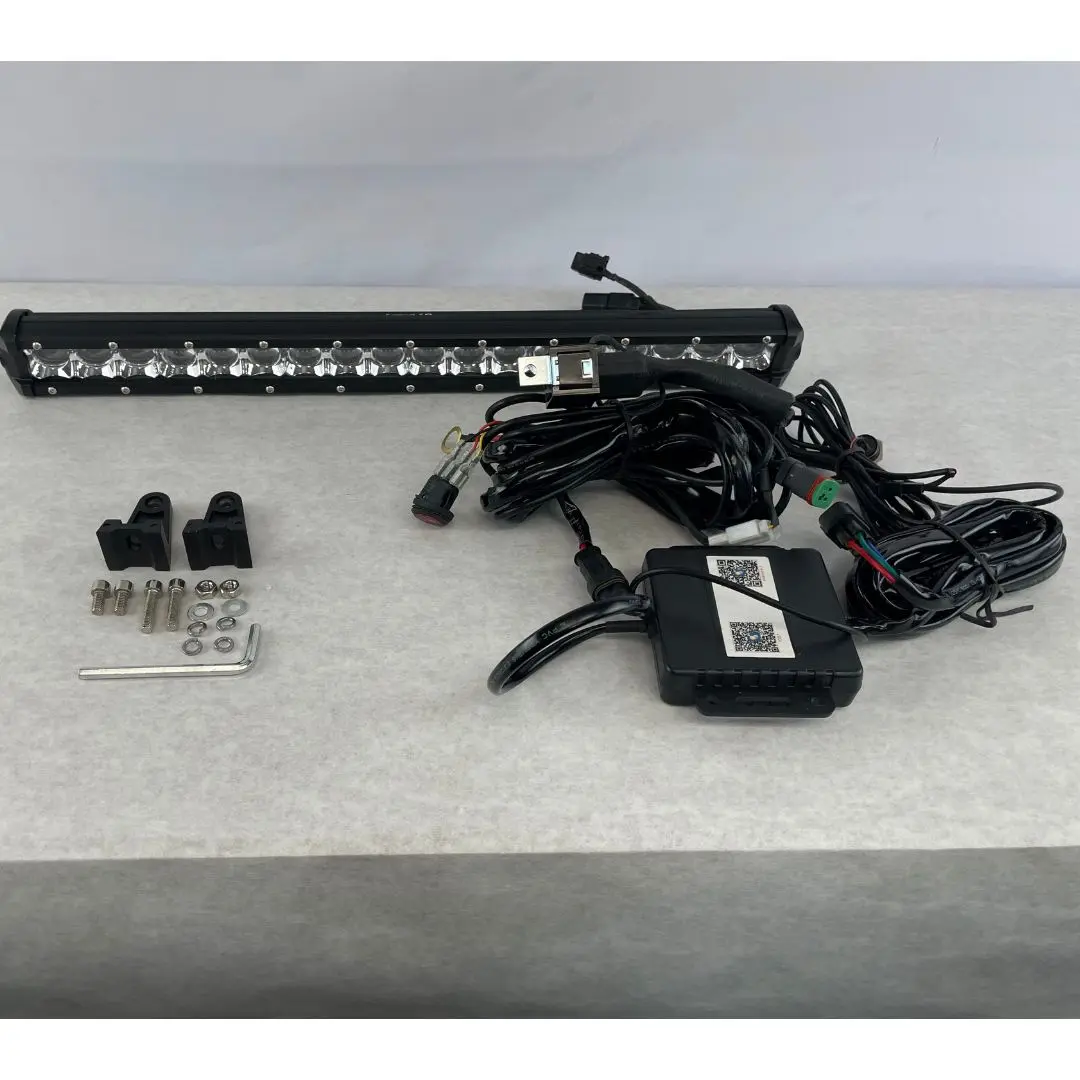
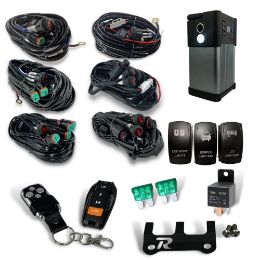
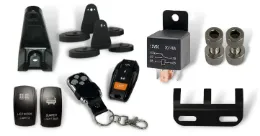
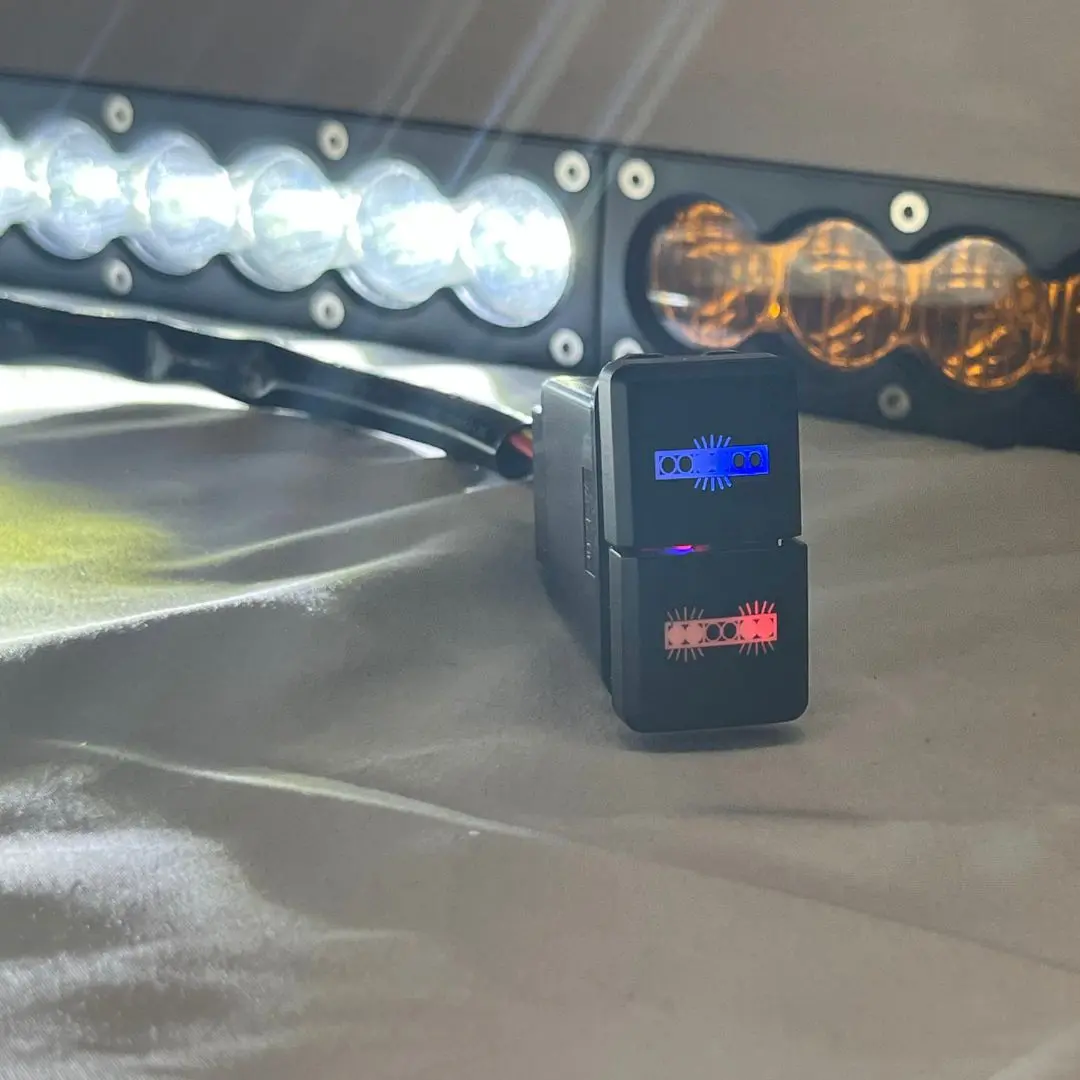
Step 3: Test your led light bar
This can be done by plugging in the bar to the harness if it's plug and play. It is important to test the led light bar and the harness first to make sure they work before installation. Testing the bar and the harness is as easy as plugging the bar into the harness and flipping the switch on. Once ready all you have to do is touch the black and red battery post wires to the negative and positive post on the car's battery. If it lights up you are ready to go. Last, test the mounting hardware, get all the correct screws, and make sure it fits with the brackets provided. It is important to note that checking an LED light bar upon receiving it saves you time during the installation process and ensures its functionality and compliance with the warranty and return policies.
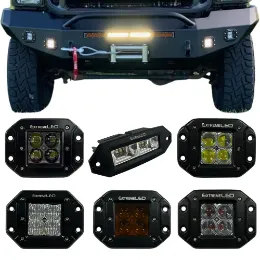
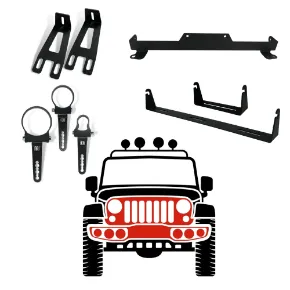
Step 4: Plan your installation and save your packaging
Plan where to mount your light bar, have the right tools ready and have an estimated time in finishing the installation. Read our installation FAQ or check out our how-to-wire your relay blog to help you with the process.
![]()
Meet the Author: Extreme LED has been helping offroad enthusiasts with their LED lighting needs since 2011. We have built our company to provide you with the best experience from shopping to customer support and ultimately use and longevity of our products. Our high-performance LED Light Bars & Pods are covered by our Lifetime Warranty and with free shipping over $100, you can rest assured that you are getting a high-quality product that will provide long-lasting lighting for your vehicle.