
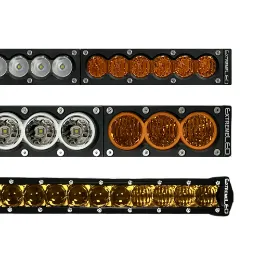
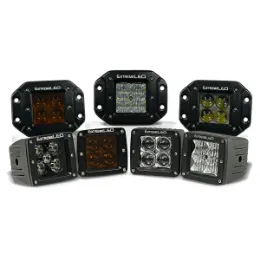
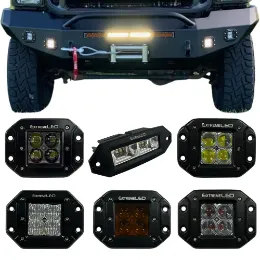
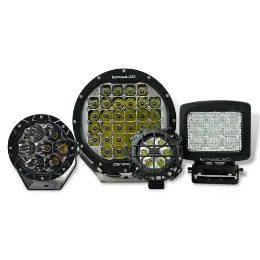


Extreme LED’s All Amber LED Light Bars enhance visibility in challenging weather conditions like dust, rain, and snow. The slim profile and sleek design are perfect for installing in your bumper, grille, or roof rack and as always, are designed to endure the toughest roads, with a lifetime warranty for peace of mind.
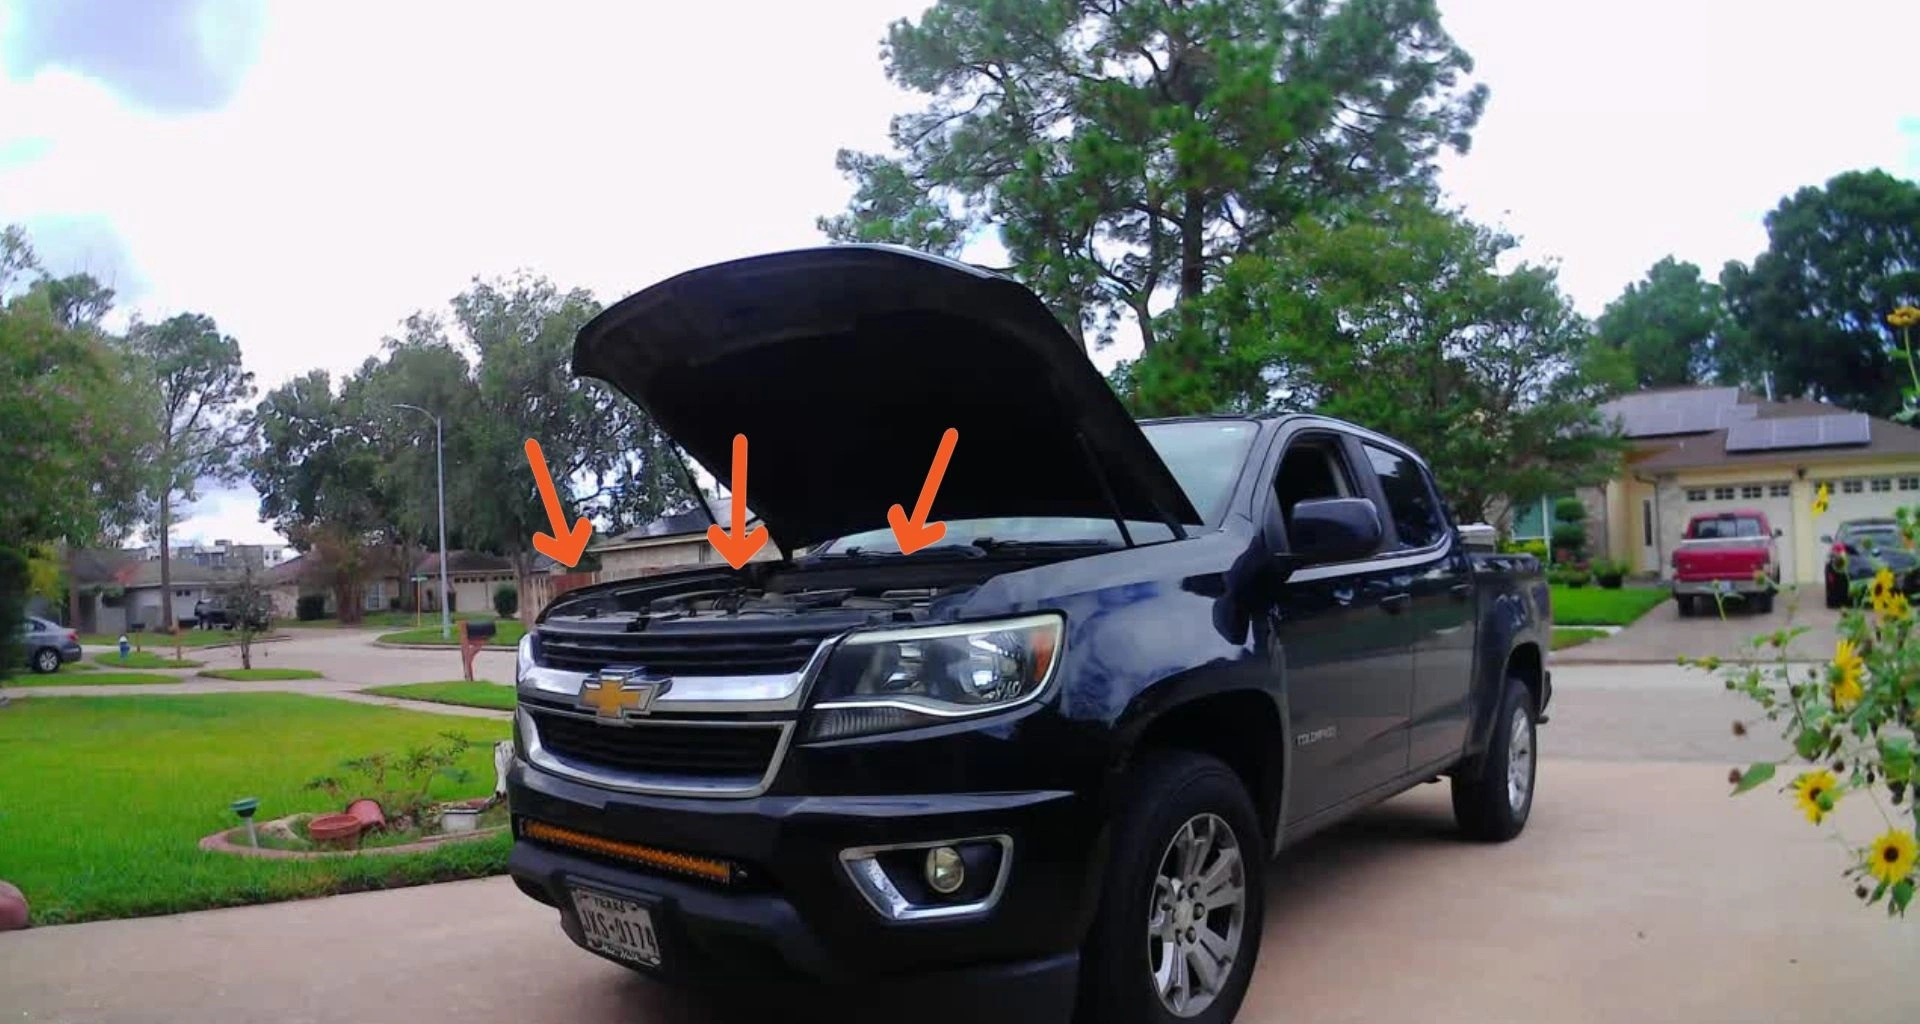
In this blog, we will share how to easily install the 30 inch All Amber Extreme LED Light Bar in the stock bumper of a 2017 Chevy Colorado.
Extreme LED 30" Amber Light Bar Install Video
Instructions for the Amber Light Bar Installation Process
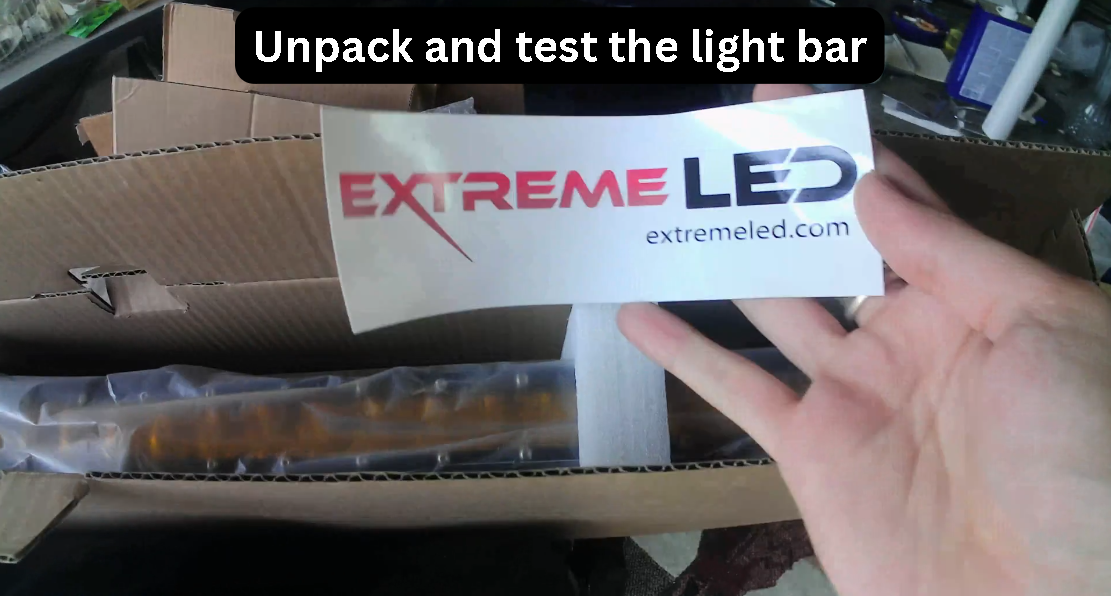
Before you begin the installation, make sure to inspect and test the light bar first to ensure the light works and nothing has been damaged or lost during shipping.
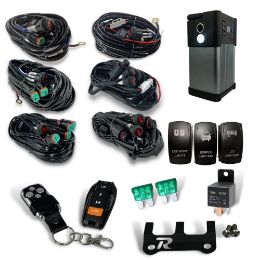
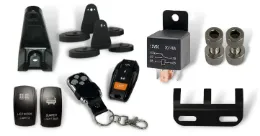
Tools Needed
Before you start the installation process, you will need the following equipment and tools:
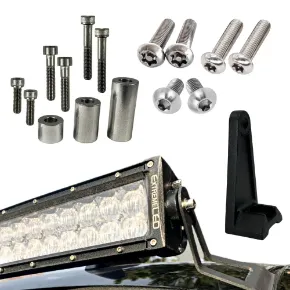
- Light bar
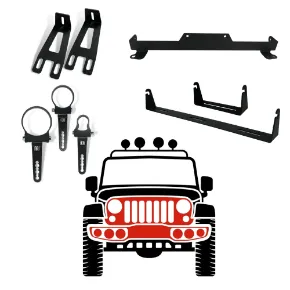
- Mounting brackets
- Wiring harness
- Socket wrench
- 5/64 Star bit
- 9/32 Socket
- 10mm Socket
- Zip ties
Installation Tips
Make sure when installing the light bar and wiring that everything is fully plugged in and carefully secured to prevent anything from coming loose. Check connections regularly to ensure there is no damage or loose parts.
Step 1: Inspect the light bar and contents
When inspecting your lightbar, check for any dents, dings, broken connectors, or loose hardware that might have occurred during shipping. If everything appears to be in good condition, connect the lightbar to your battery (red to positive, black to negative) and test it. This will help you understand its functionality and allow you to see it in action before proceeding with installation. After testing, be sure to disconnect the lightbar from the battery to avoid any risk of grounding out during installation.
Step 2: Release the upper engine cover
Remove the 6 screws under the hood that hold on the upper engine cover.
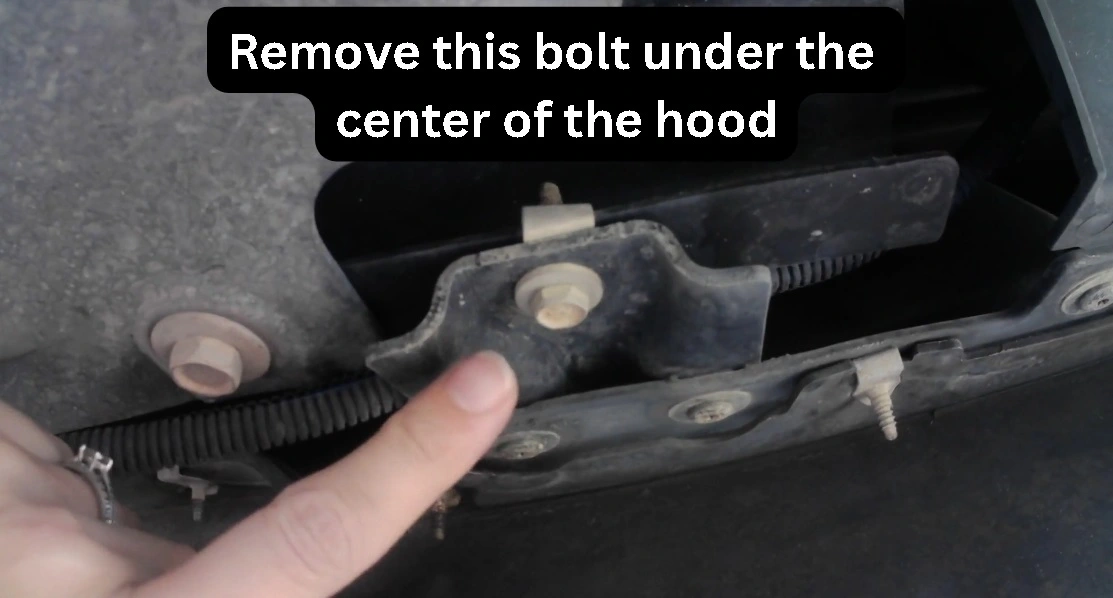
Step 3: Remove the center bolt under the hood.
Remove the bolt below the center of the hood between the wheels under the vehicle.
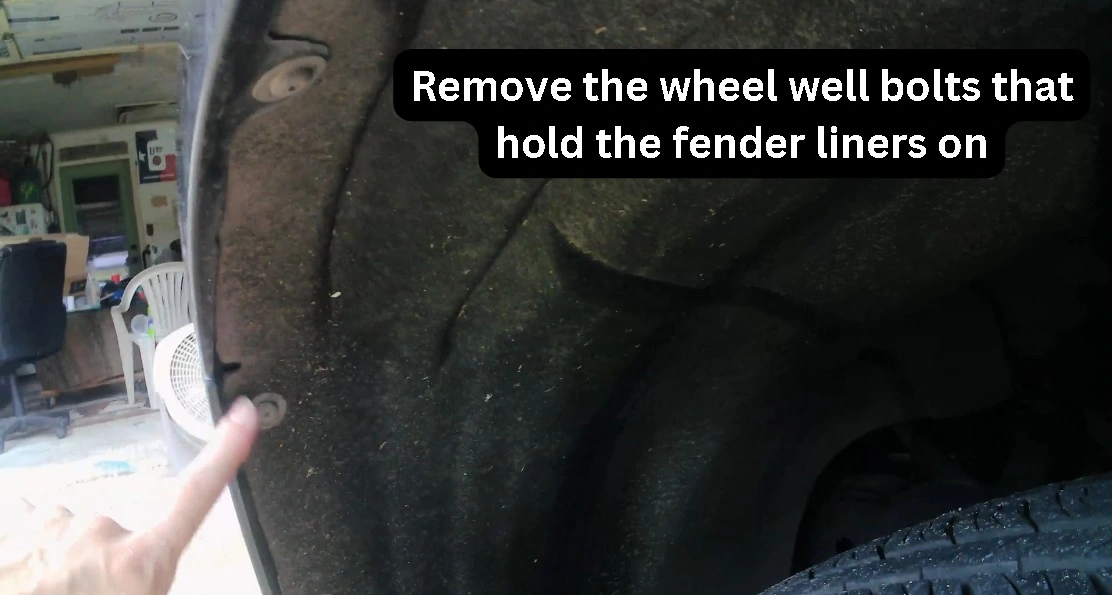
Step 4: Remove the wheel well bolts.
Remove the wheel well bolts that hold the fender liners on.
Step 5: Remove the 4 bolts behind the fender liners.
Remove the 3 upper bolts near the outer edge of the wheel well and the bolt closer to the inside of the vehicle holding on the front bumper.
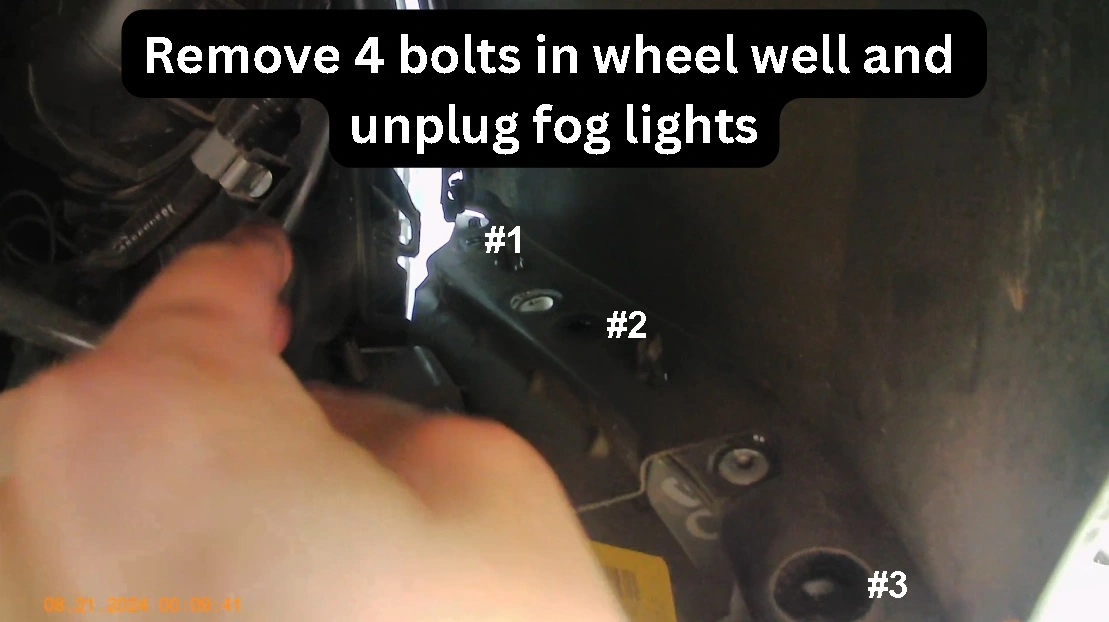
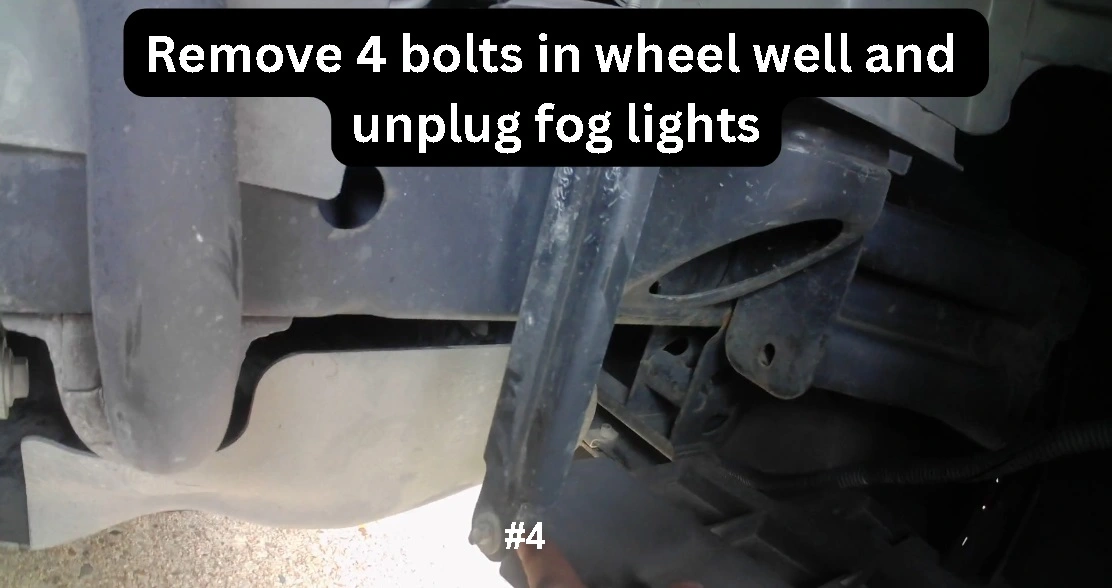
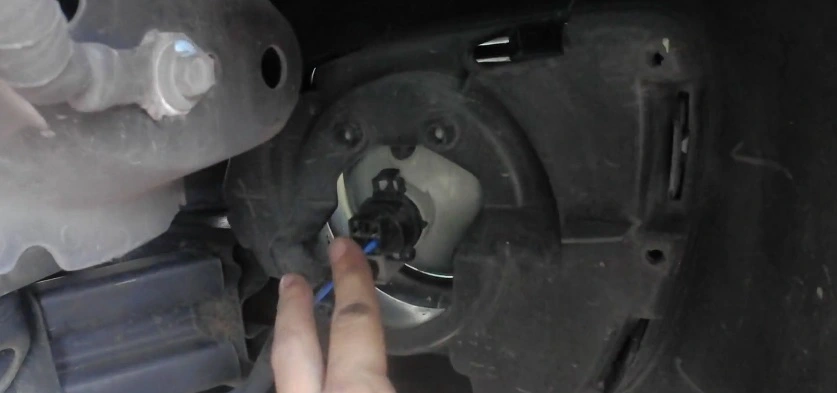
Step 6: Unplug fog lights
If you have fog lights installed, you will need to unplug them from the back of the fog lights.
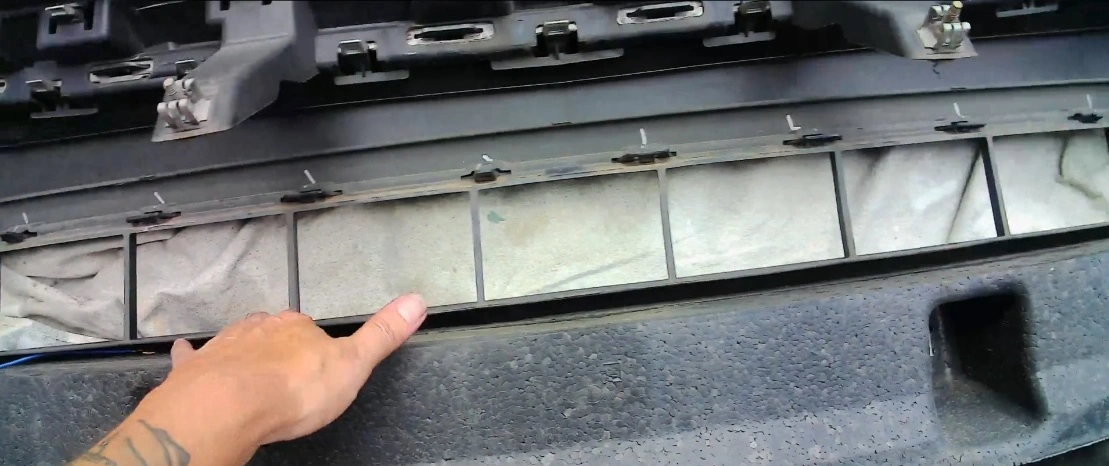
Step 7: Cut the plastic from the bumper slot
The bumper comes with plastic pieces in the slot where the light bar will be, these will need to be cut with a saw or snippers.
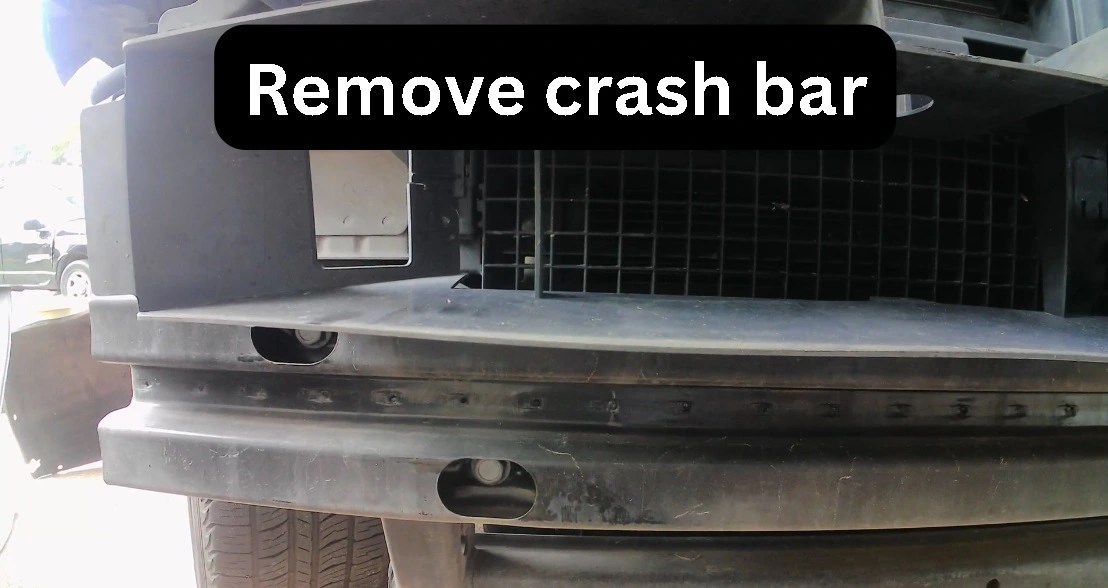
Step 8: Remove the crash bar
There are 4 bolts that hold on the crash bar, these will need to be removed as the brackets will be installed behind the crash bar.
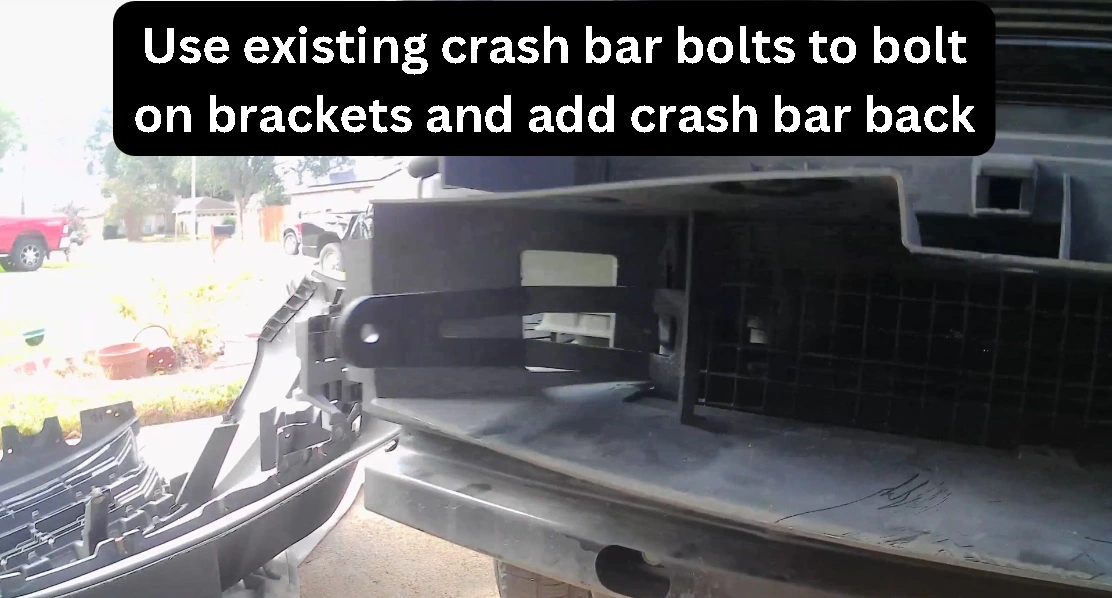
Step 9: Install the brackets
Add the brackets to the existing crash bar bolts and reinstall the crash bar.
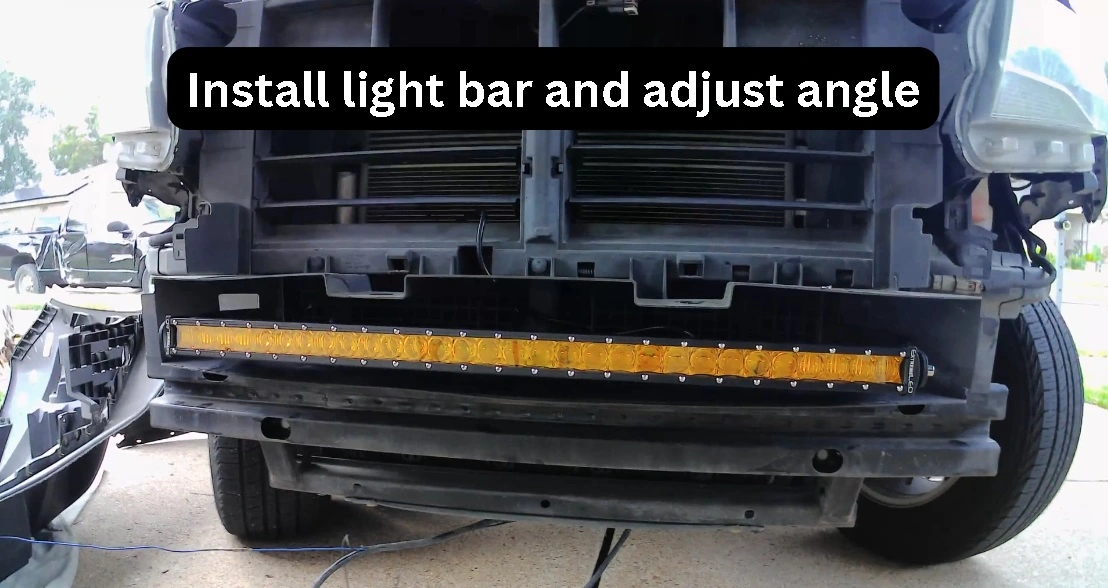
Step 10: Install the light bar
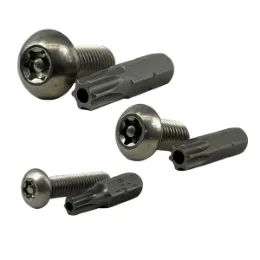
Install the light bar and adjust it to the desired angle (note, you may need to bend the brackets a bit to get the fit right but this can be done by hand once the brackets are installed.) Use tamper resistant security screws for extra protection from theft.
Step 11: Put it back together
Put the front end back on and re-install fender liners and attach all bolts and screws. Make sure everything is tight but be careful not to strip any screws or bolts.
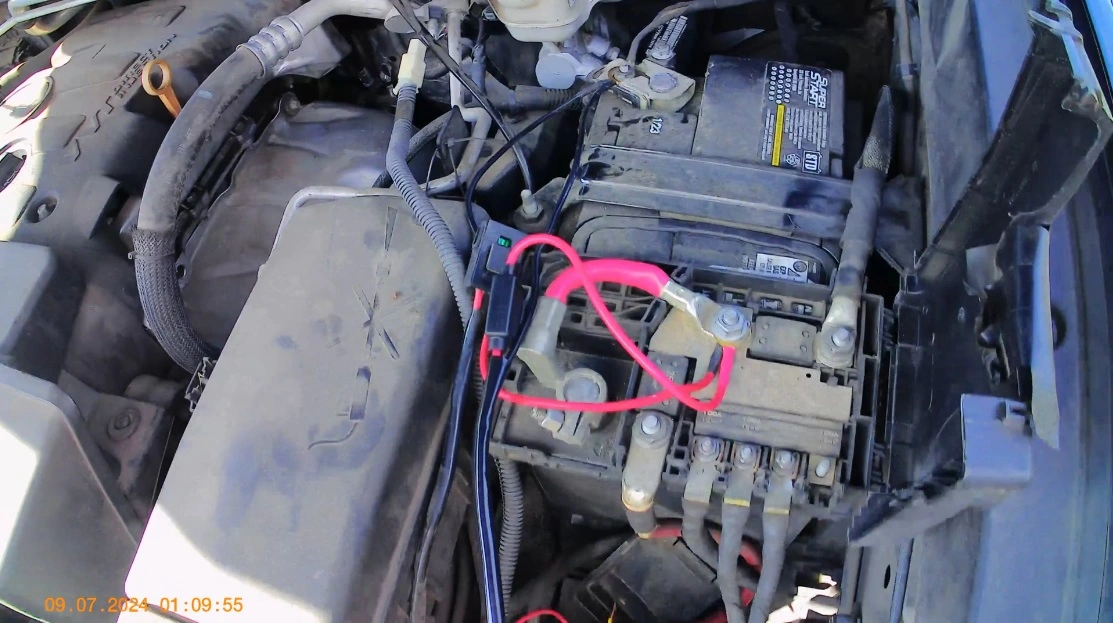
Step 12: Wire it up
Connect the red wire to the positive terminal on the battery and the black wire to the negative terminal. Then unplug the switch/button and feed the connection through the firewall under the steering wheel (you may need to cut a hole in the rubber), then plug the switch back in. If using an adhesive back switch, clean the switch mounting spot with alcohol before sticking. Use zip ties to organize excess wire under the hood.
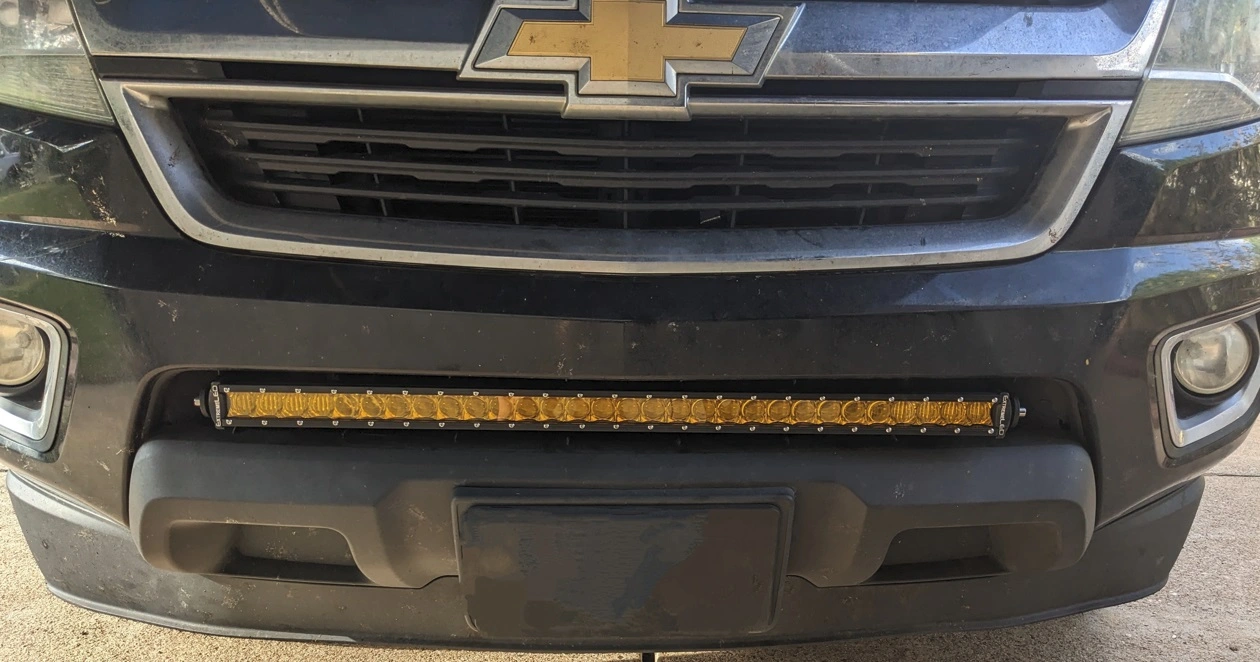
Enjoy your light bar!
Congratulations! Your installation is complete, now go enjoy your new toy!

Conclusion
With the right tools, the installation process for a 30” LED Light Bar on a Chevy Colorado bumper is straightforward and easy. Extreme LED is a top provider of LED Light Bars & Light Pods, offering a wide range of lights to suit your needs. Choose Extreme LED for high-quality products with a lifetime warranty. If you have any questions about this installation or our All Amber Light Bars, please contact us.
![]()
Meet the Author: Extreme LED has been helping off-road enthusiasts with their LED lighting needs since 2011. We have built our company to provide you with the best experience from shopping to customer support and ultimately use and longevity of our products. Our high-performance LED Light Bars & Pods are covered by our Lifetime Warranty and with free shipping over $100, you can rest assured that you are getting a high-quality product that will provide long-lasting lighting for your vehicle.